New Installation of AlarmTraq™
Upgrading from a previous version
Download the installation manual (PDF)
View the YouTube video 'AlarmTraq Installation' (23:19)
View the YouTube video 'Create a new AlarmTraq Database on SQL Server 2008 R2' (8:41)
Step 1: Install AlarmTraq
Download the full package (AlarmTraq.zip) from the downloads section of the Support Site (login required) http://www.reillytele.com/AlarmTraq/supportsite/.
Step 2
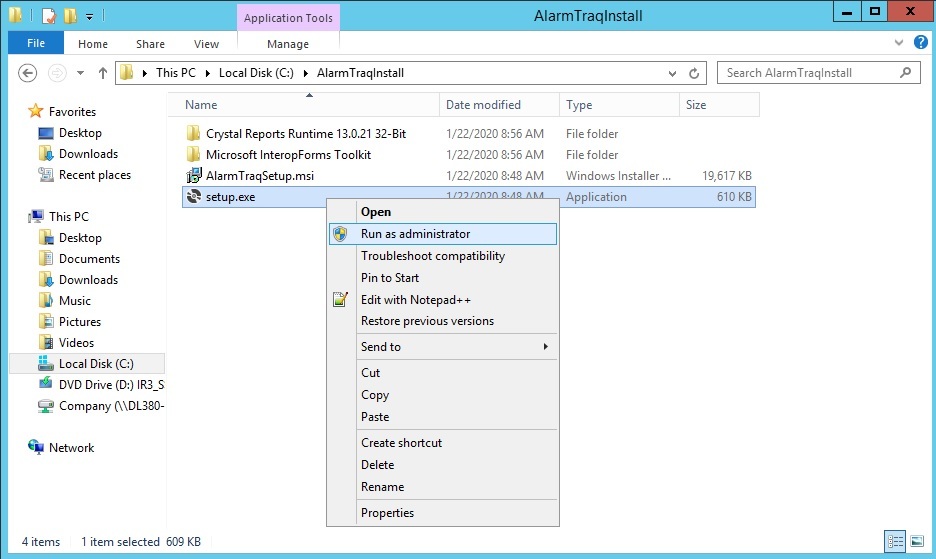
Unzip the AlarmTraq.zip file to a temporary directory on your server. In this example we created a new folder named AlarmTraqInstall. Right-click on the setup.exe file and choose 'Run as Administrator' from the menu..
Step 3
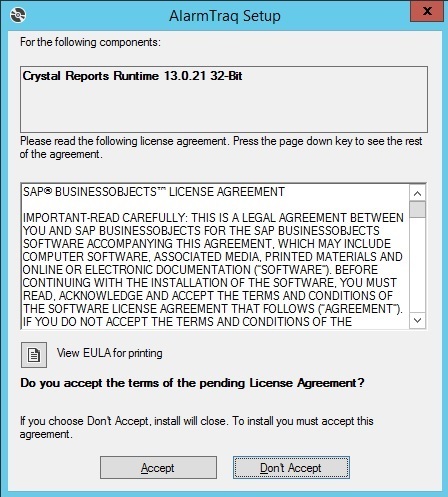
Press 'Accept' to install the latest version (13.0.21 32-bit) of the Crystal Reports Runtime. This may take several minutes to complete.
Step 4
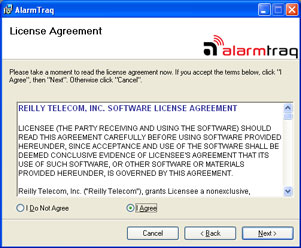
Read and agree to the software license agreement, click Next.
Step 5
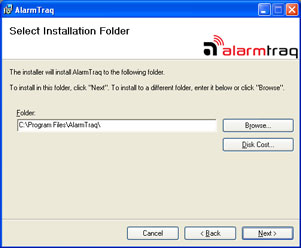
Select the installation folder and click Next.
Step 6
Confirm the installation and click Next.

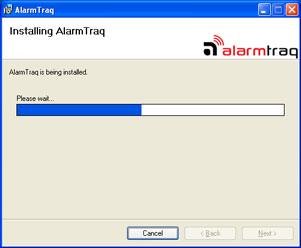
Step 7
Wait while AlarmTraq is installed on your server, this could take several minutes.
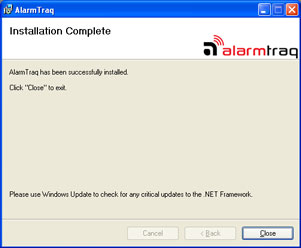
Step 8
When the installation has completed, click Close.
Step 9: Create empty SQL database
Before running AlarmTraq for the first time we need to create the database in SQL Server. Open SQL Server Management Studio and click on File > Open > File. Select the appropriate script file to match your version of SQL Server from the AlarmTraq Tools folder (\Program Files\AlarmTraq\Tools) and click Open.

Step 10
Verify the path located on lines 5 and 7 match your current installation of SQL Server and edit if needed.
Step 11
On the toolbar click Execute. after a few seconds a blank AlarmTraq database is created in SQL.
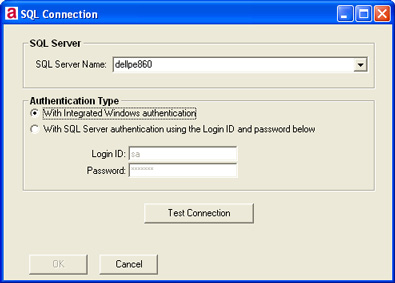
Step 12
Open AlarmTraq by clicking on the new shortcut on your desktop. If this is the first time starting AlarmTraq you will be prompted for the SQL Server to use. make sure you have selected to use the 'With SQL Server authentication using Login ID and password below'.
Enter your SQL Login ID (default is sa) and the password you assigned when you installed SQL server
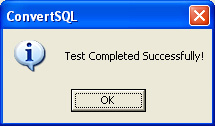
Step 13
Click the Test Connection button to verify your access to the AlarmTraq database.
Step 14
If the test is successful click OK and OK to write the connection string to the registry. AlarmTraq will use this connection string when accessing the database.
Step 15: Rebuild the SQL Stored Procedures and Functions
Double-click the new AlarmTraq shortcut on your desktop to launch AlarmTraq. The first time you run AlarmTraq, several tables will be populated with working data and may take a few minutes to load. When completed, the main form will be visible.
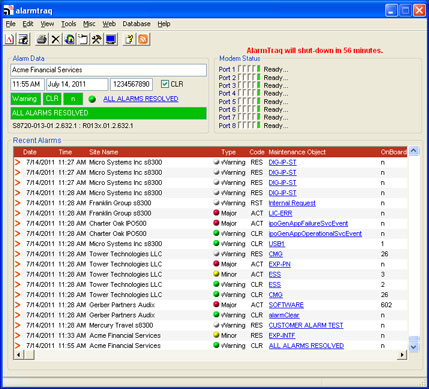
And that's it. Your AlarmTraq installation is now completed.